Design Question
What would you change if this part of Paper City had to serve twice as many people?
A clear guide to the simple materials and tools behind the model.
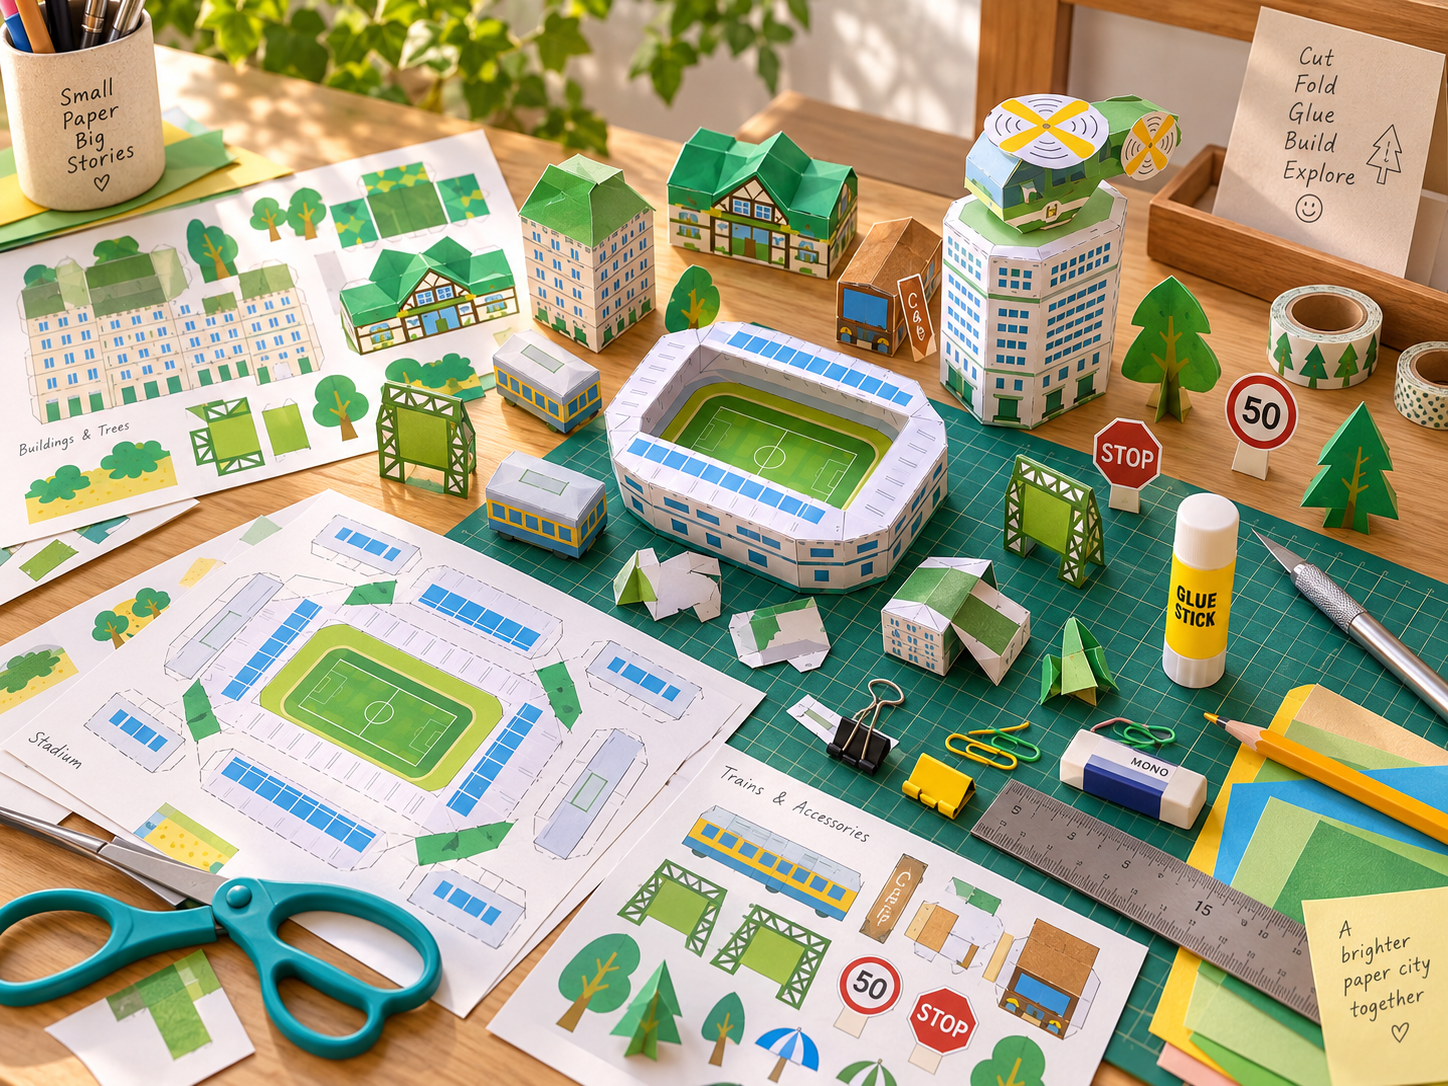

This section goes deeper into the project with clear explanations, design thinking and visual examples.
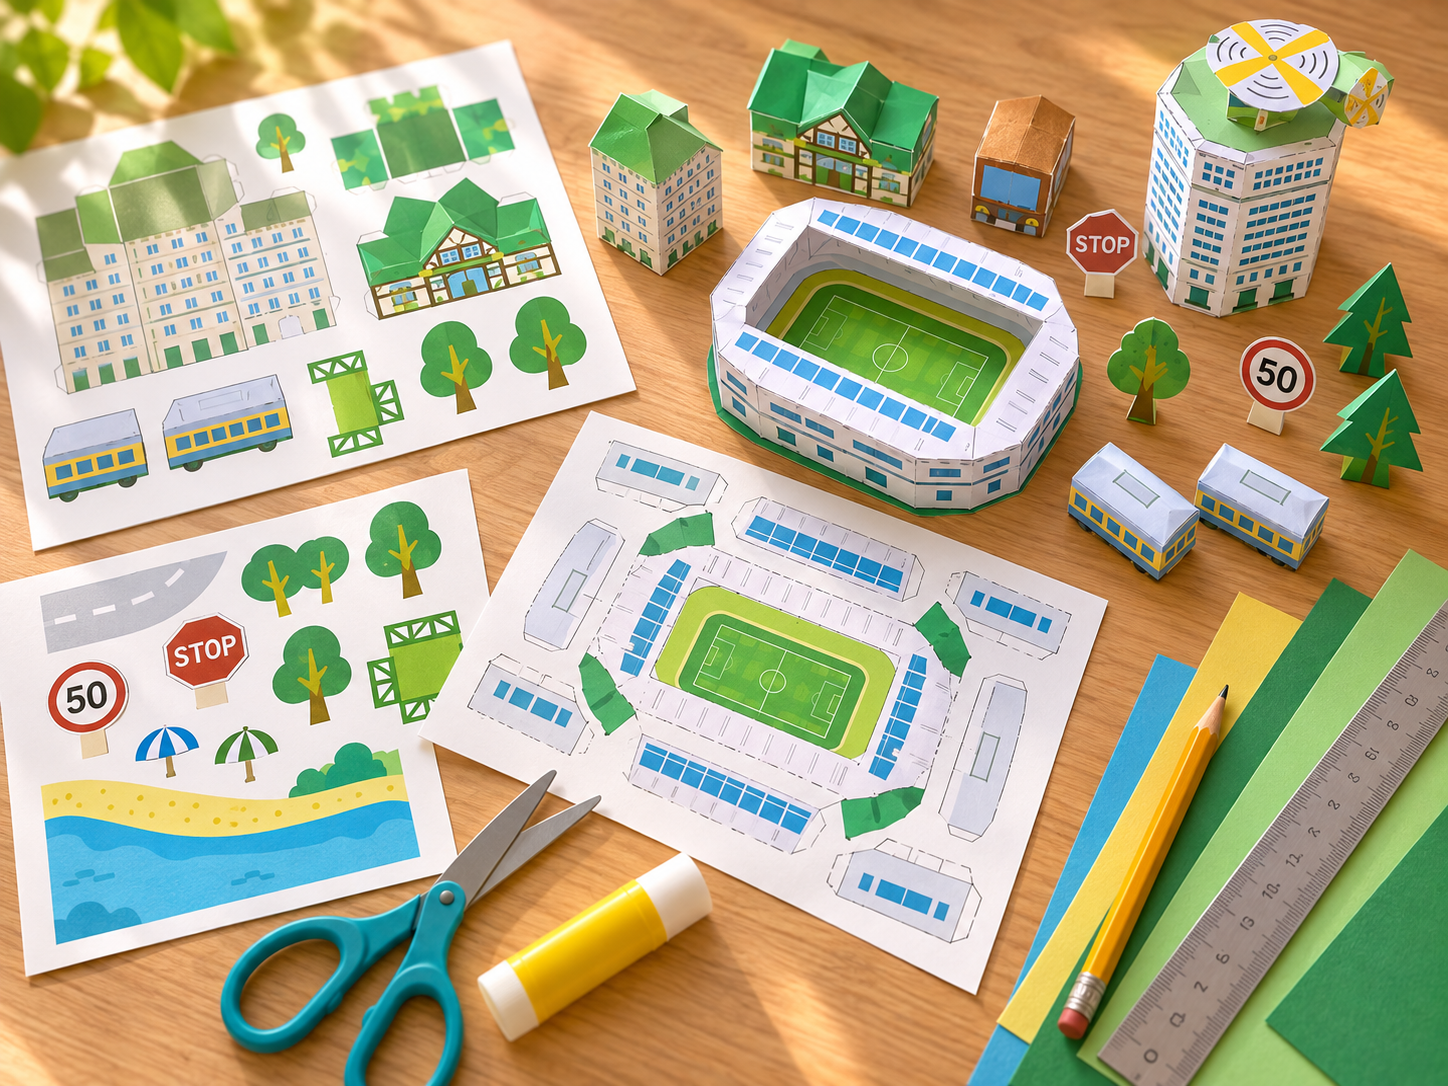
Paper and cardstock form the main visual language of the model. They are used for walls, roofs, trains, trees, signs and surface details.
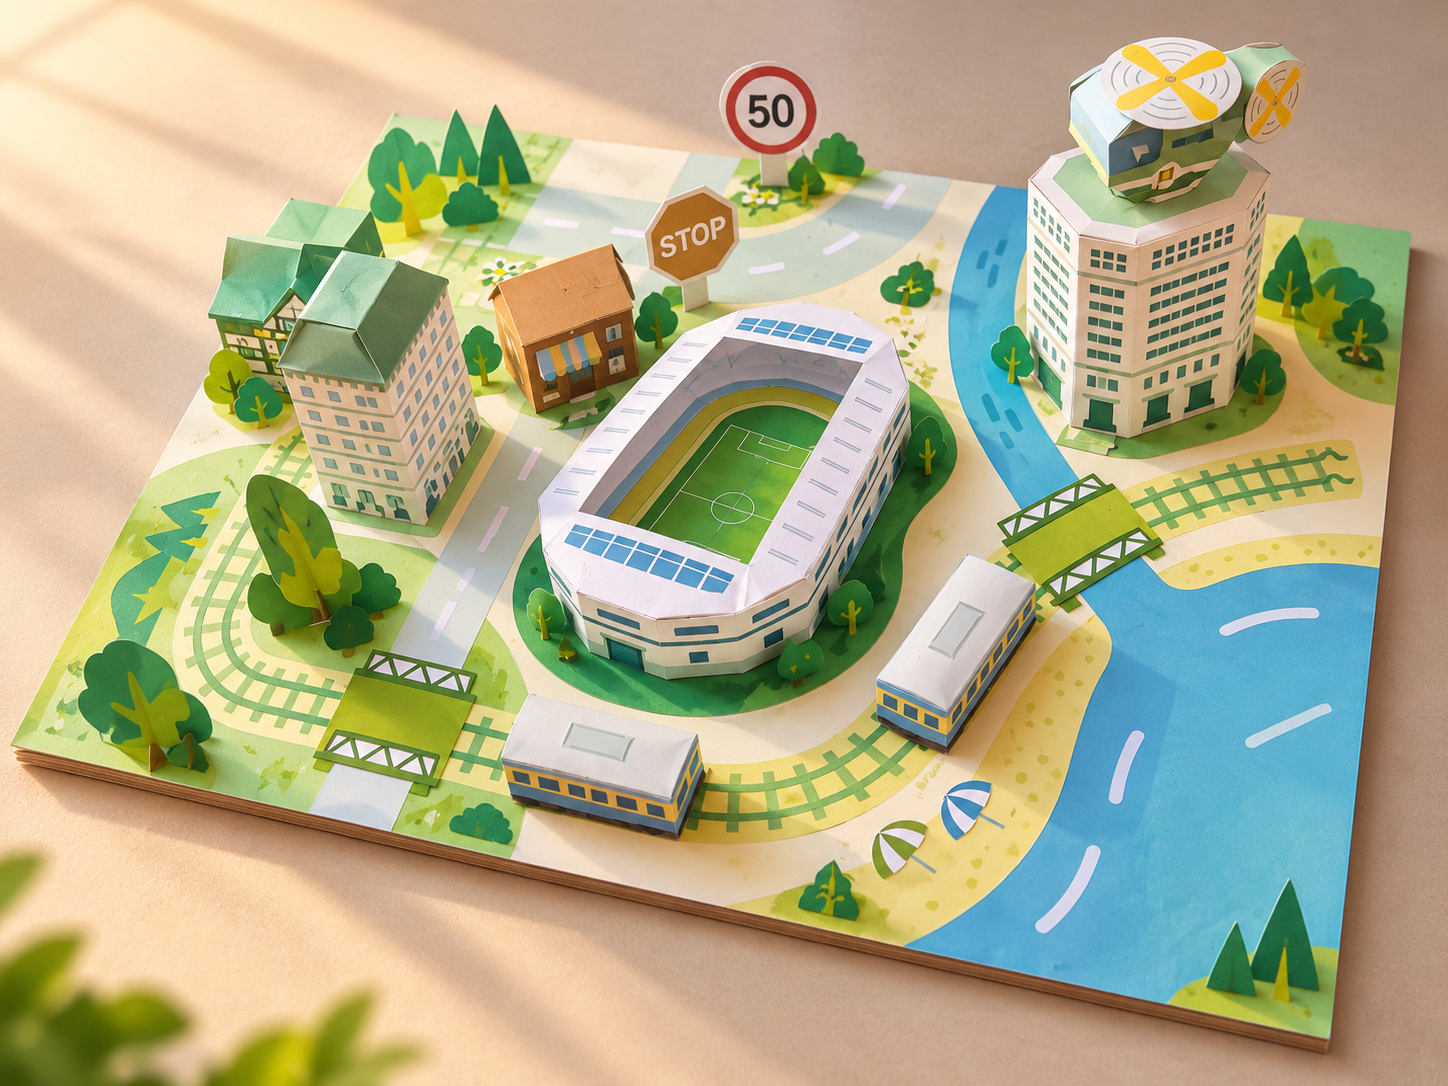
Scissors are useful for most components. A ruler helps keep long edges straight and repeatable.
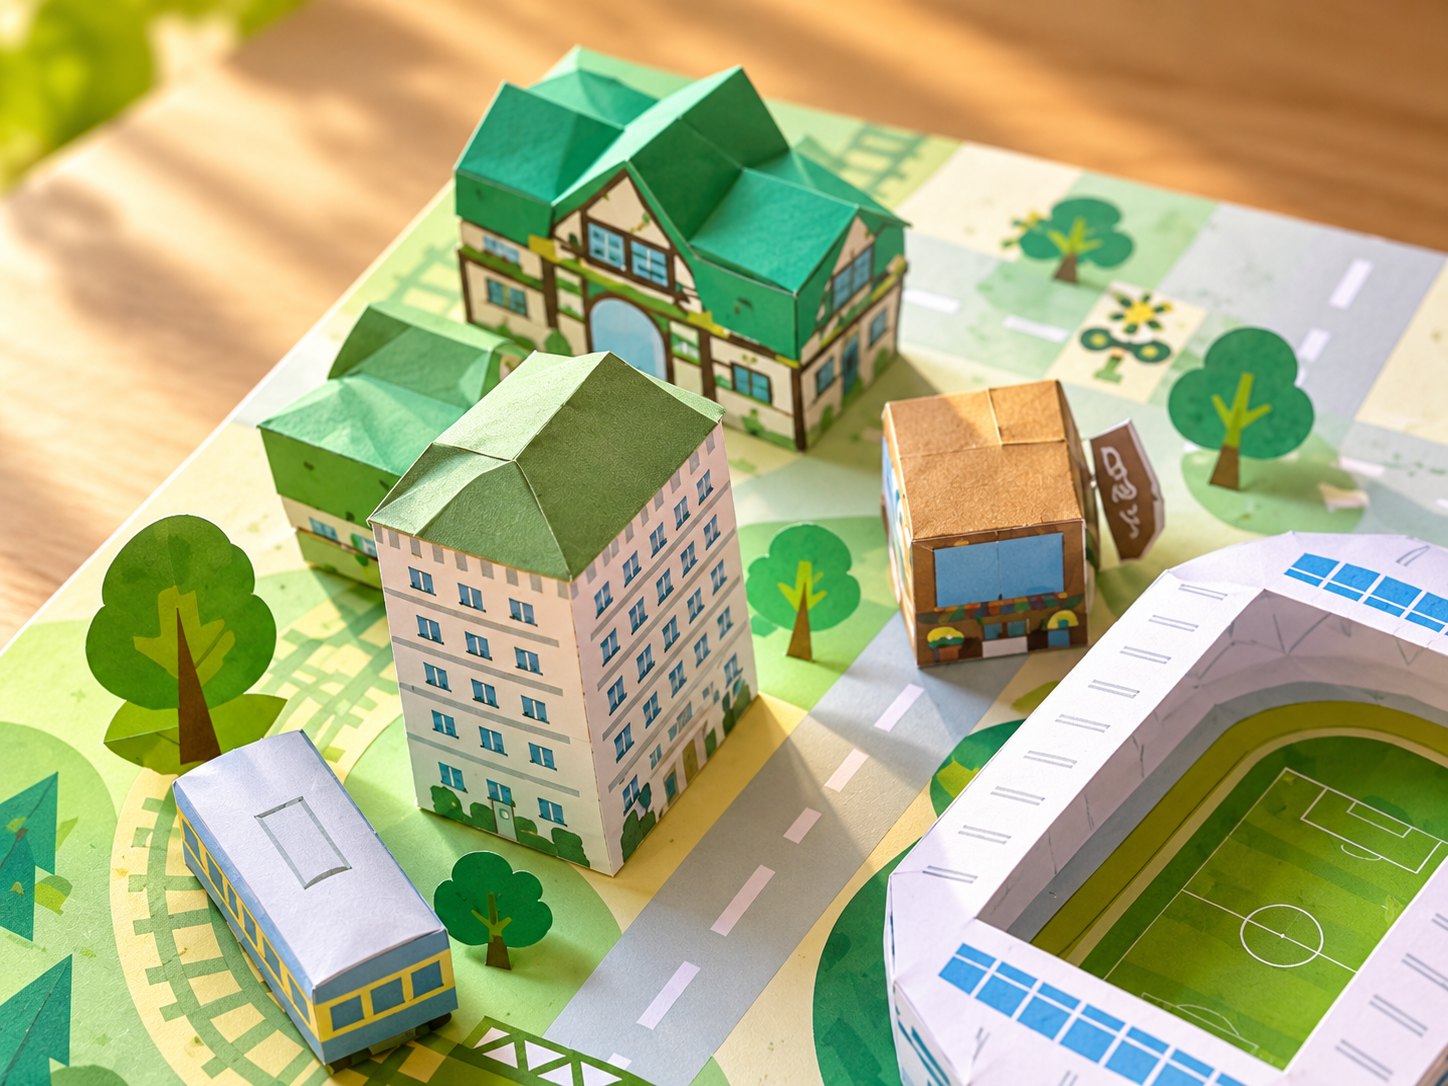
Glue or a glue stick holds folded pieces together and fixes components onto the main base.
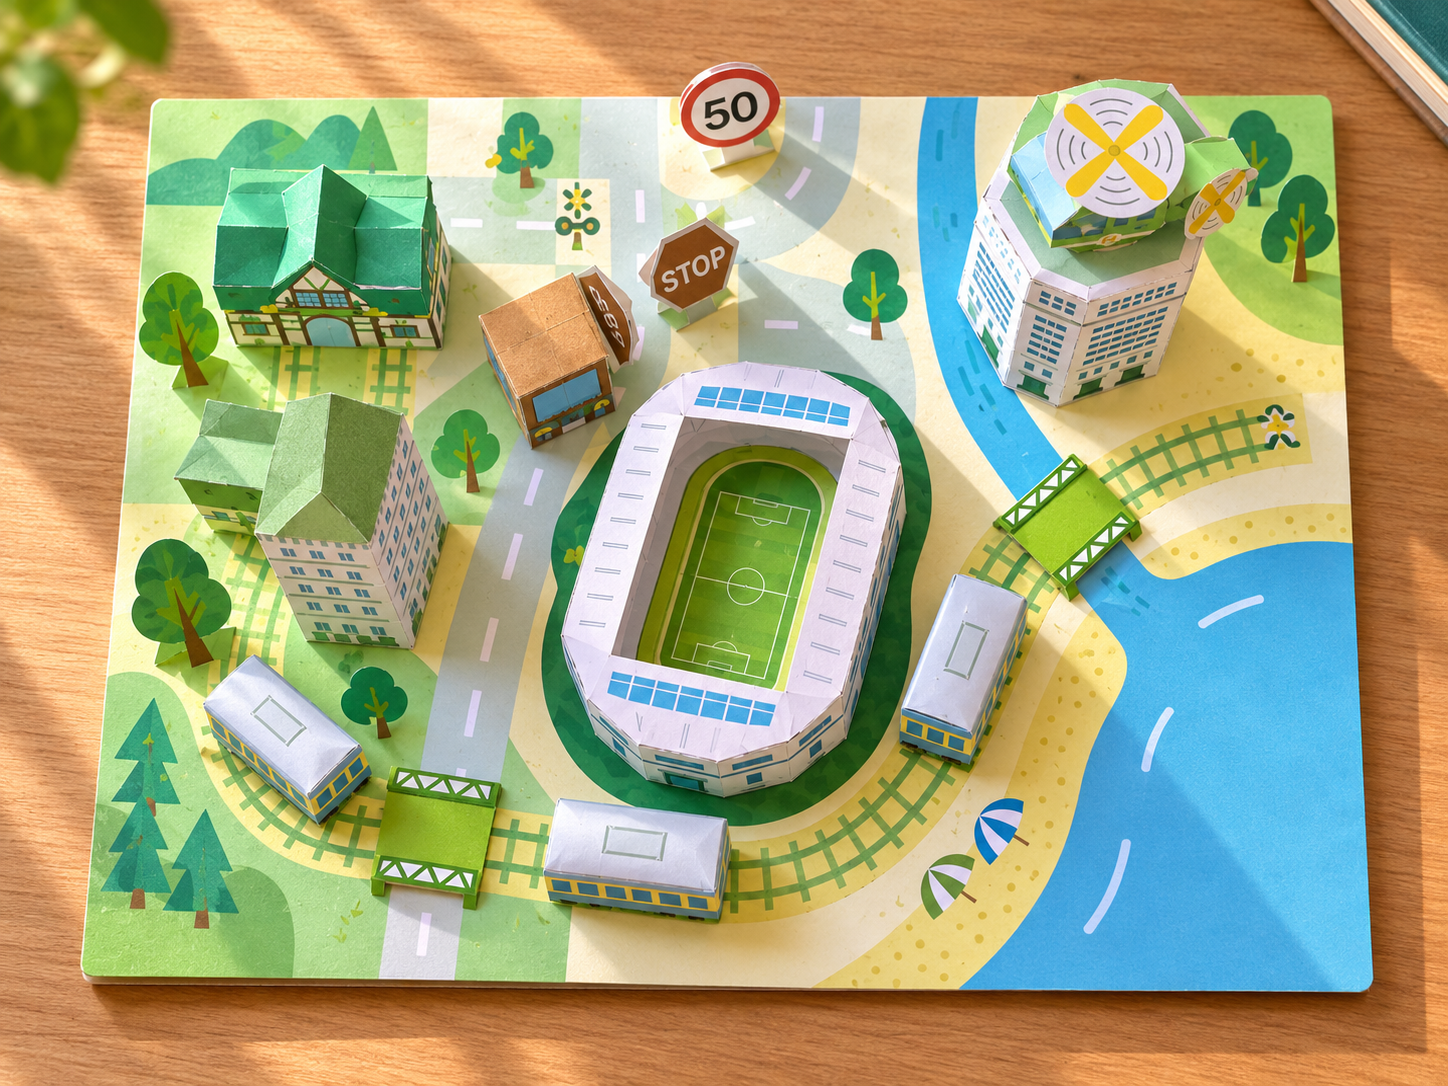
Pencils and markers help with planning, fold lines, windows, signs and extra details.
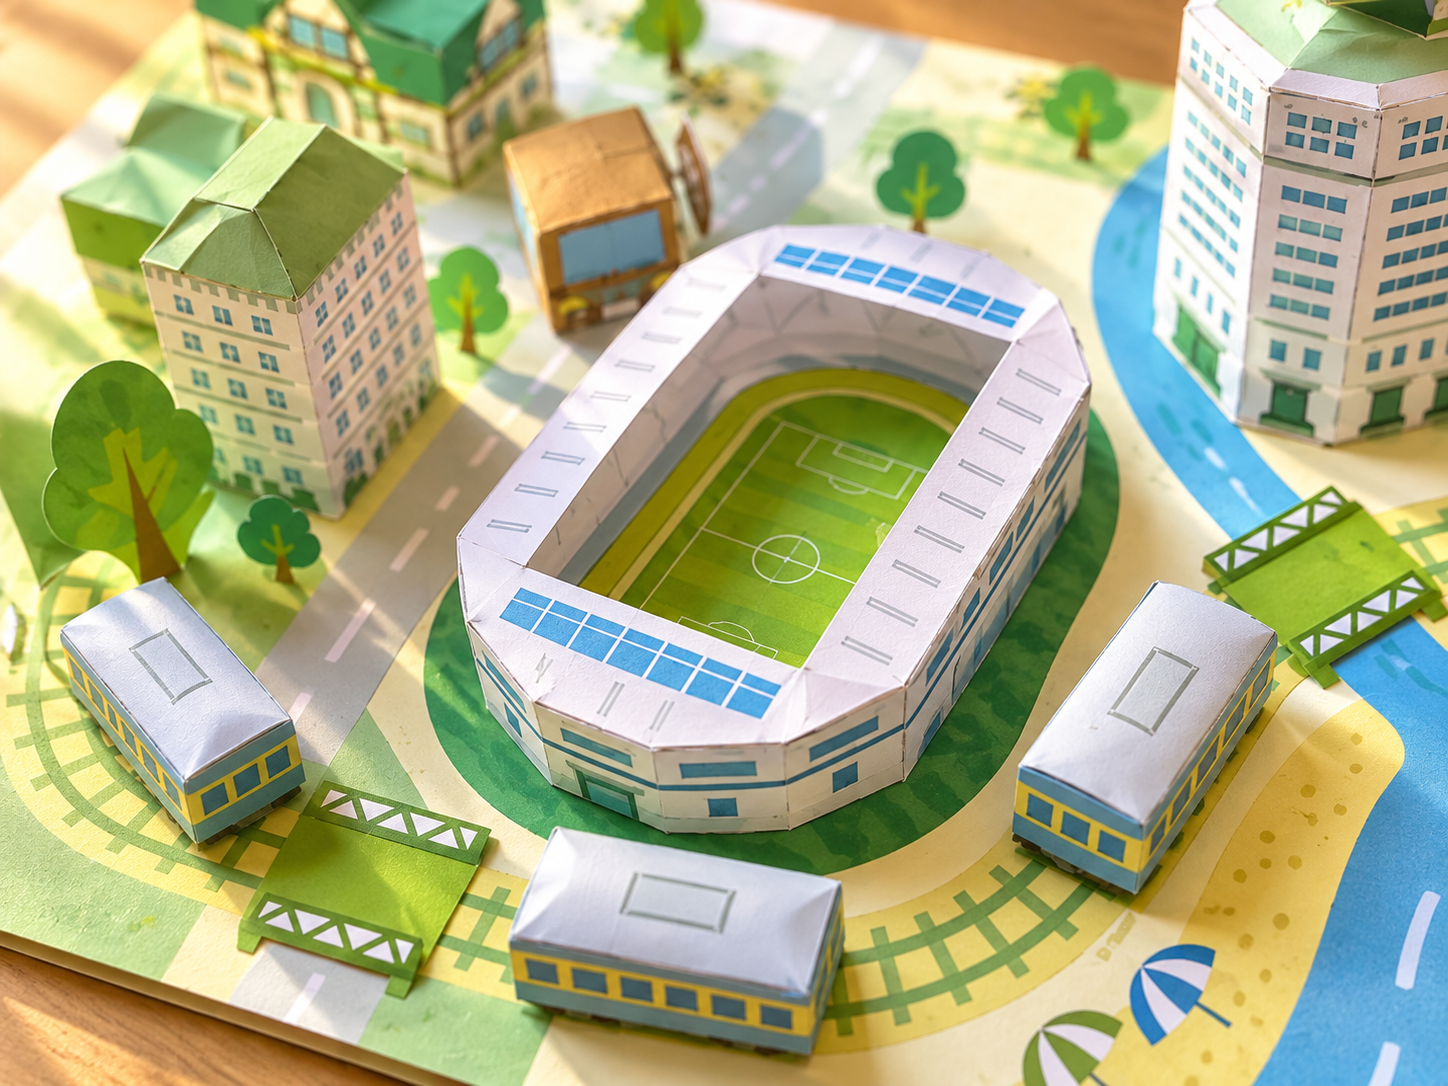
Printed textures and templates help repeat windows, road signs, field markings and small decorative elements more consistently.
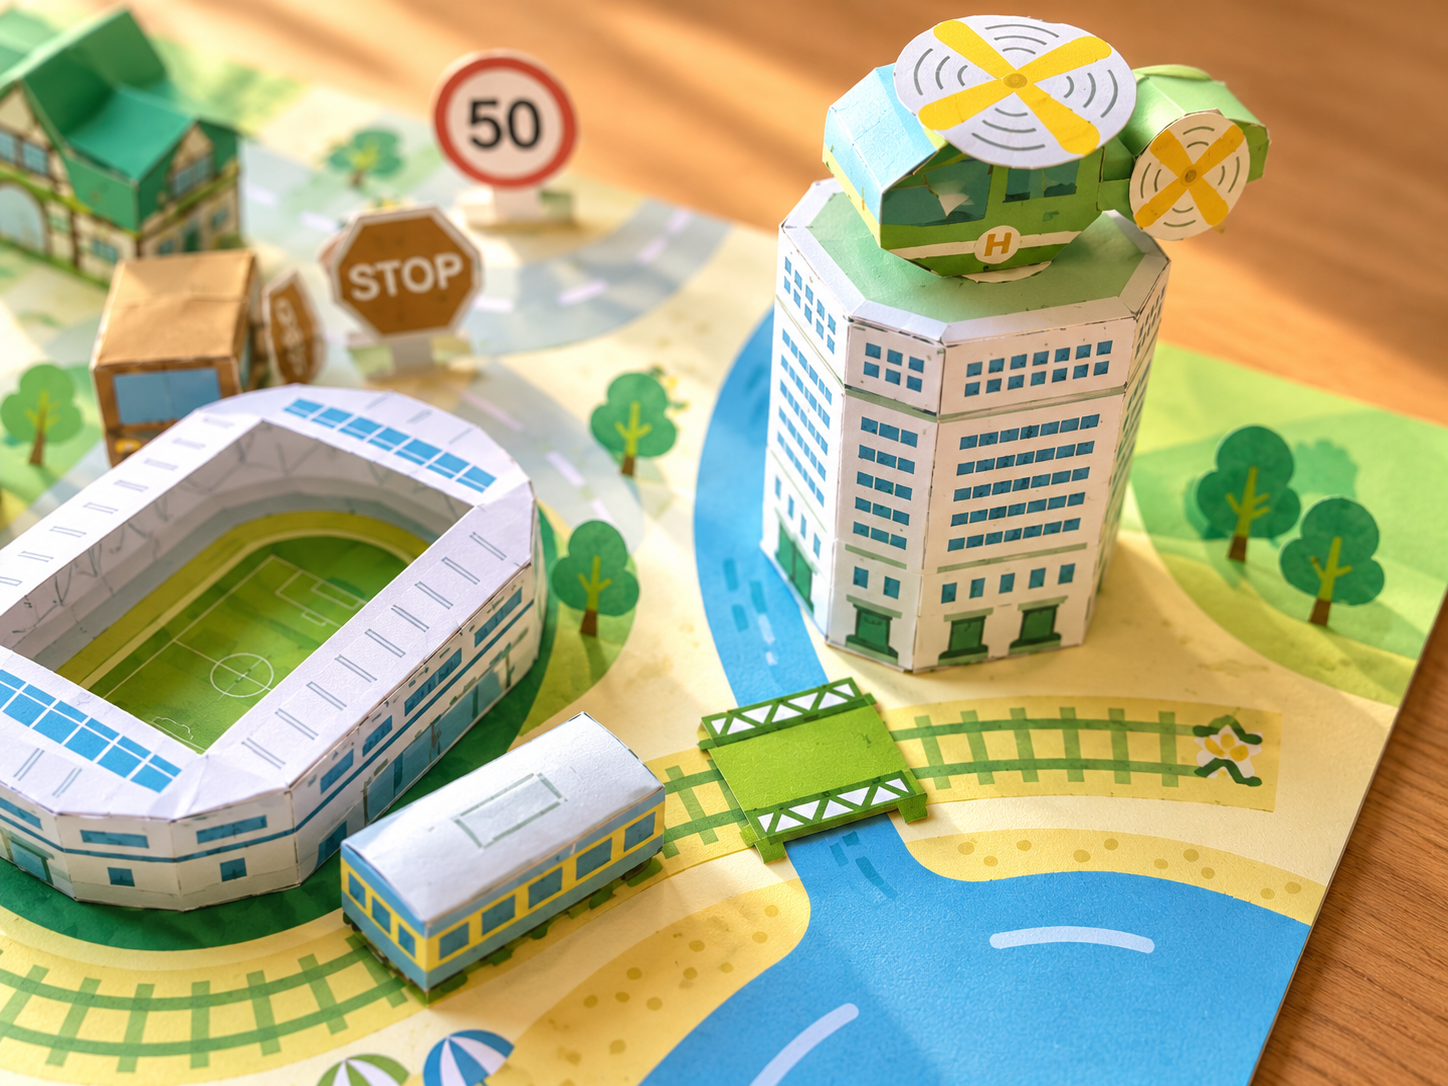
A cutting mat, clips and tape can make the build more comfortable and precise, especially for small components.
What would you change if this part of Paper City had to serve twice as many people?
How could the same area use less material, create more shade or support more greenery?
Which paper component would be hardest to remake accurately, and how could the template be improved?